
Creamy Pistachio Cheesecake Recipe for Rich Nutty Flavor
Silky, rich, and delicately nutty, this creamy pistachio cheesecake recipe brings a luxurious bakery-style dessert straight into your kitchen. You’ll love how the pistachio flavor melts into the velvety filling, making it perfect for celebrations, dinner parties, or an indulgent weekend treat.
Timing
- Prep Time: 25 minutes
- Cook Time: 60 minutes
- Chill Time: 6–8 hours (recommended overnight)
- Total Time: 7–9 hours
- Servings: 10–12 slices
Ingredients for Pistachio Cheesecake Recipe
For the Biscuit Crust
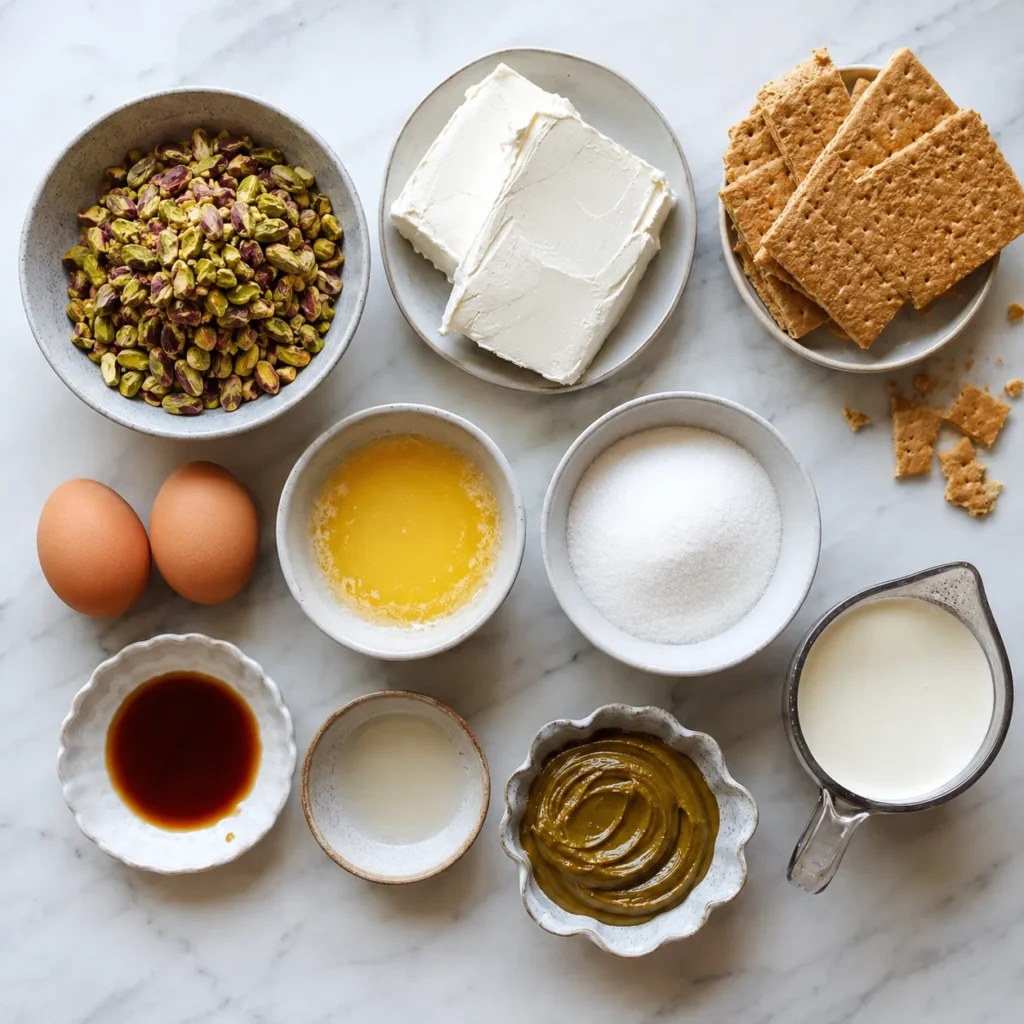
- 2 cups graham cracker crumbs (or digestive biscuits, finely crushed)
- 1/2 cup unsalted butter, melted
- 2 tablespoons sugar
- A pinch of salt
For the Creamy Pistachio Filling
- 2 cups cream cheese, softened at room temperature
- 1 cup heavy cream, cold
- 3/4 cup pistachio paste (unsweetened preferred)
- 3/4 cup powdered sugar (adjust to taste)
- 3 large eggs
- 1 teaspoon vanilla extract
- 1/2 teaspoon almond extract (enhances pistachio flavor)
- 2 tablespoons all-purpose flour (helps stabilize texture)
- 1/2 cup finely ground pistachios (for deeper nut flavor)
For Garnish
- Crushed pistachios
- Whipped cream (optional)
- Light honey drizzle (optional)
Instructions
Step 1: Prepare the Biscuit Base
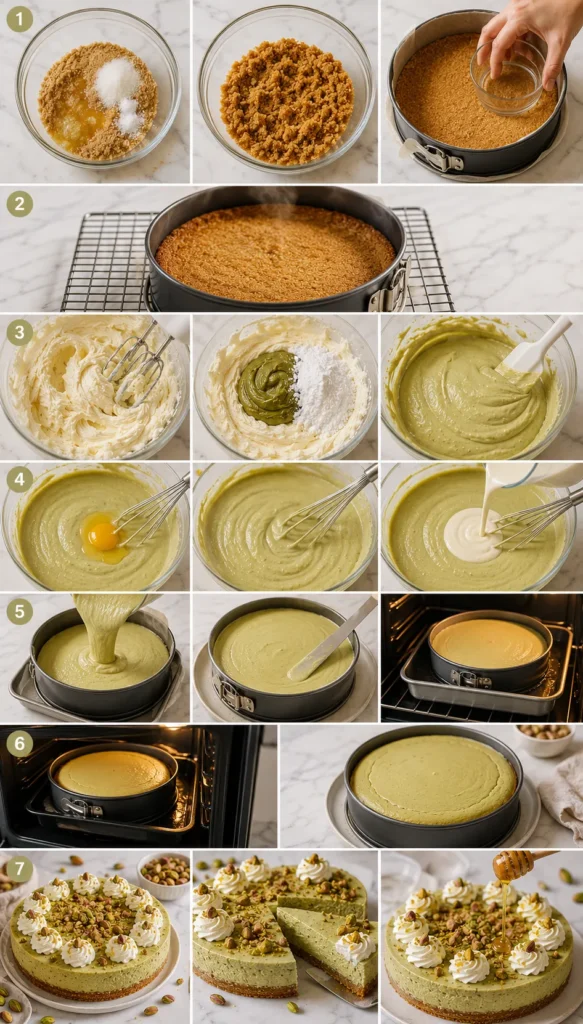
You start by combining graham cracker crumbs, sugar, salt, and melted butter until the texture feels like wet sand. Press it firmly into a lined springform pan and slightly up the sides. Bake for 10 minutes to set the crust and enhance flavor.
Chef’s Tip: Press the crust using the bottom of a glass to create a compact, even layer that prevents crumbling when slicing.
Step 2: Cool and Prep the Pan
Once baked, allow the crust to cool completely before adding the filling. This step ensures the cream layer doesn’t melt or separate when poured in.
Chef’s Tip: Place the pan on a wire rack so air circulates evenly, preventing condensation that can make the crust soggy.
Step 3: Make the Creamy Pistachio Base
In a large bowl, beat cream cheese until smooth and fluffy, then add powdered sugar, vanilla, and almond extract. Mix in pistachio paste and ground pistachios until fully incorporated. This creates the signature nutty depth.
Chef’s Tip: Always scrape down the bowl while mixing so no dense cream cheese lumps remain in the batter.
Step 4: Add Eggs and Cream
Add eggs one at a time, mixing gently after each addition. Pour in heavy cream and flour, mixing just until smooth. This step builds structure while keeping the texture silky.
Chef’s Tip: Avoid overmixing at this stage because too much air can cause cracks during baking.
Step 5: Bake the Cheesecake
Pour the filling over the cooled crust and smooth the top. Bake in a water bath at 160°C (320°F) for about 55–60 minutes until the edges are set but the center still slightly jiggles.
Chef’s Tip: A water bath keeps the cheesecake moist and prevents cracking by maintaining gentle, even heat.
Step 6: Cool Slowly and Chill
Turn off the oven and leave the cheesecake inside with the door slightly open for 1 hour. Then chill in the fridge for at least 6 hours or overnight.
Chef’s Tip: Slow cooling prevents sudden temperature changes, which is the main cause of surface cracks.
Step 7: Decorate and Serve
Top your cheesecake with crushed pistachios, whipped cream swirls, or a drizzle of honey before serving. Slice with a warm knife for clean edges.
Chef’s Tip: Dip your knife in hot water and wipe it between cuts for perfect bakery-style slices.
Nutritional Information (Per Slice)
| Nutrient | Amount |
| Calories | 420 kcal |
| Protein | 8 g |
| Carbohydrates | 32 g |
| Total Fat | 30 g |
| Fiber | 2 g |
| Sugar | 22 g |
Why You’ll Love This Recipe
- The pistachio flavor feels naturally rich and luxurious, giving you a bakery-quality dessert without complicated techniques or equipment.
- The texture is ultra-creamy yet stable, thanks to the balanced combination of cream cheese, cream, and eggs.
- It’s an impressive dessert for gatherings, making it perfect when you want something that looks elegant but is still beginner-friendly.
- You can prepare it ahead of time, which makes it ideal for stress-free entertaining or special occasions.
Common Mistakes to Avoid
- Overmixing the batter can introduce excess air, which leads to cracks and uneven texture, so you should always mix just until combined.
- Skipping the water bath often results in dry edges and cracked tops, so always bake it gently for best results.
- Using cold cream cheese makes the batter lumpy, so always allow it to soften fully before mixing.
- Cutting the cheesecake before it has fully chilled can ruin its structure, so patience is key for clean slices.
Serving Suggestions
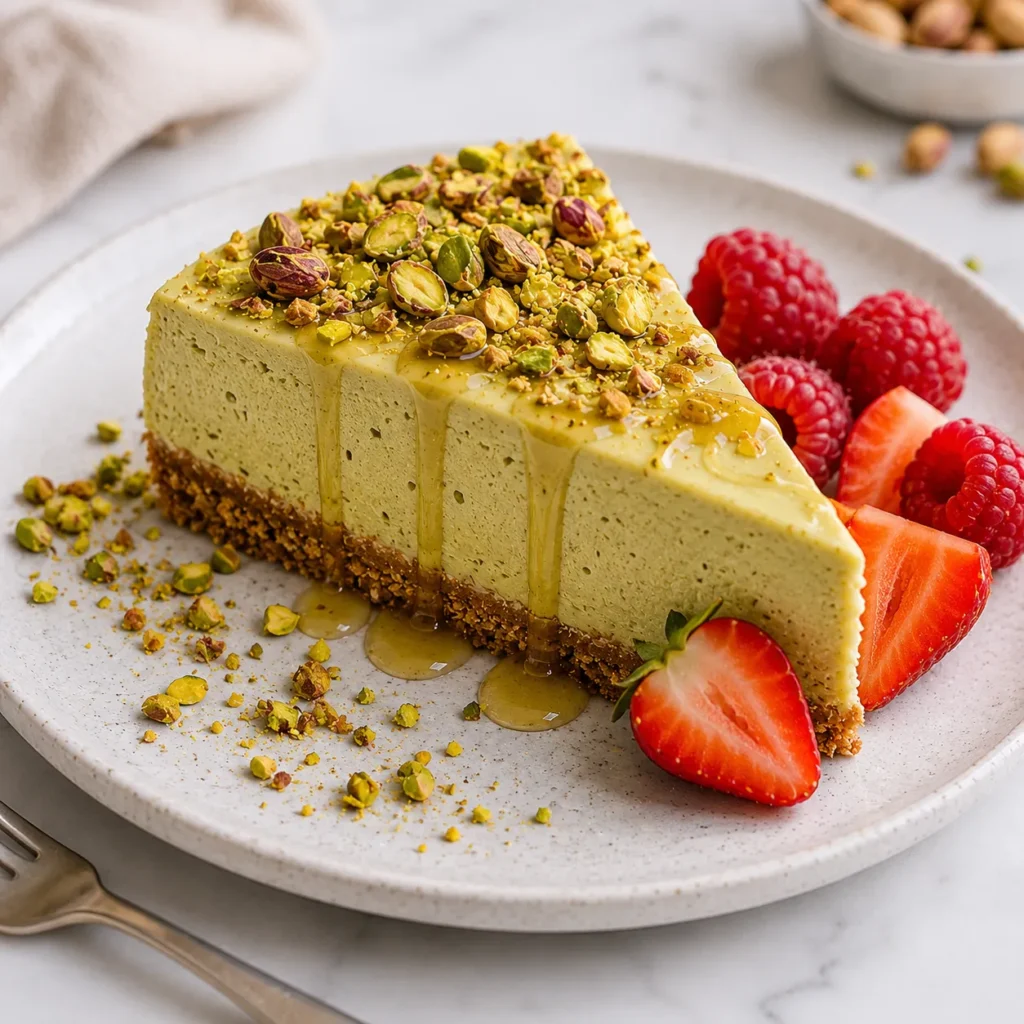
- You can serve each slice with a drizzle of warm honey and crushed pistachios to enhance the natural nuttiness and add visual appeal.
- Pair it with fresh berries like raspberries or strawberries to balance the richness with a slight tart contrast.
- Serve chilled with espresso or black coffee to highlight the creamy texture and deepen the flavor experience.
- Turn it into mini dessert plates by adding whipped cream and biscuit crumbs for a restaurant-style presentation.
Healthier Alternatives and Ingredient Swaps
- You can replace full-fat cream cheese with light cream cheese to reduce calories while still maintaining a creamy texture.
- Swap sugar with coconut sugar or a natural sweetener to make the dessert slightly more wholesome without losing sweetness.
- Use almond flour instead of graham crackers for a lower-carb crust option that still holds together well.
- Replace heavy cream with Greek yogurt for a tangier, protein-rich version that feels lighter on the palate.
Storage and Meal Prep Tips
- Store the cheesecake in an airtight container in the refrigerator for up to 5 days while maintaining its creamy texture.
- You can freeze individual slices wrapped tightly in plastic wrap for up to 2 months for longer storage.
- Always thaw frozen slices in the refrigerator overnight instead of room temperature to preserve structure.
- Prepare the cheesecake a day ahead for events, as resting improves both texture and flavor depth.
Conclusion
This creamy pistachio cheesecake recipe delivers a perfect balance of nutty richness and smooth, melt-in-your-mouth texture. Once you understand the basic technique, you can easily customize it with different toppings or crust variations, making it a reliable dessert you’ll return to again and again.