
Easy No Churn Ice Cream Recipe for Simple Frozen Dessert
Creamy, scoopable ice cream doesn’t need an ice cream machine or complicated technique. With this easy no churn ice cream recipe, you can create a rich frozen dessert using just a handful of ingredients, perfect for quick cravings, gatherings, or last-minute sweet treats.
Timing
- Prep Time: 15 minutes
- Freeze Time: 6–8 hours
- Total Time: 6–8 hours 15 minutes
- Servings: 6–8 servings
Ingredients for No Churn Ice Cream Recipe
Cream Base
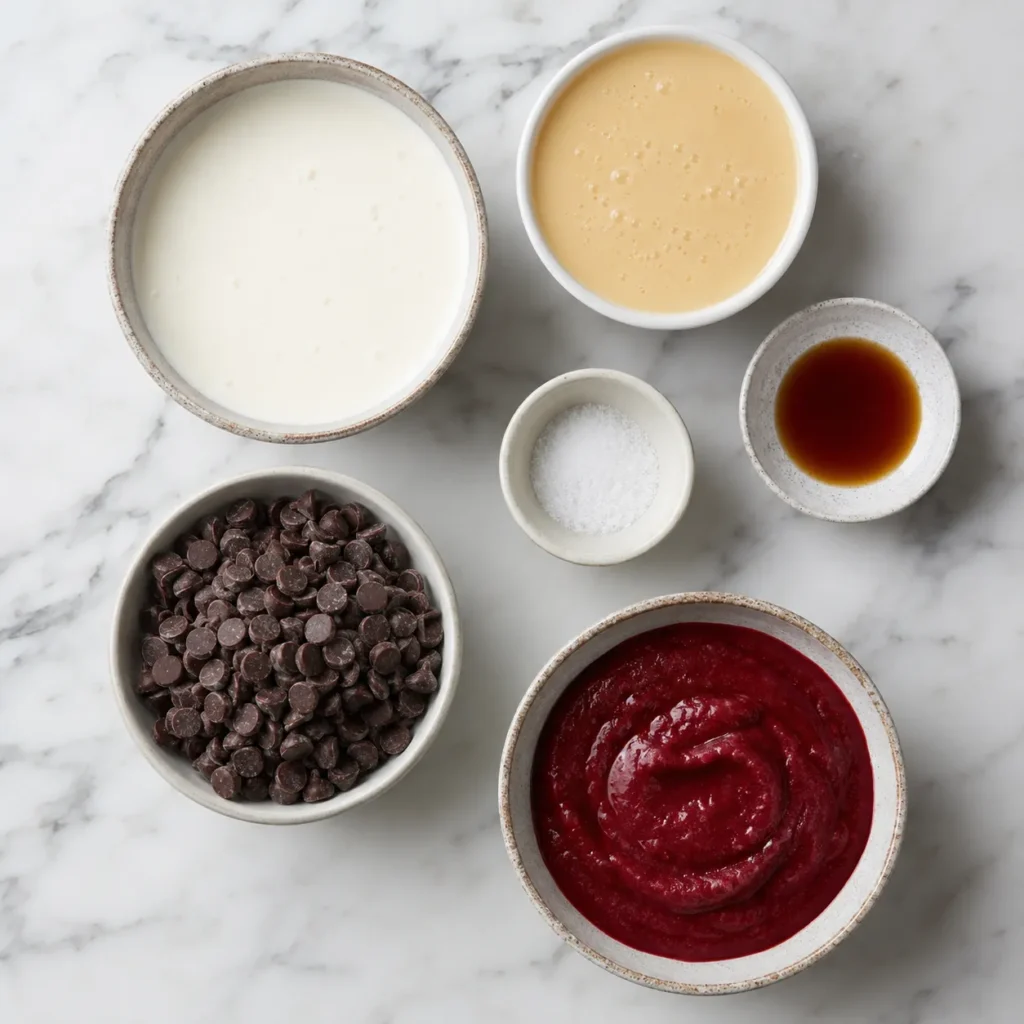
- 2 cups heavy whipping cream (cold, straight from the fridge)
- 1 can (14 oz / 400 g) sweetened condensed milk
Flavoring Base
- 1 teaspoon vanilla extract (pure for best flavor)
- 1/4 teaspoon salt (balances sweetness and enhances creaminess)
Optional Mix-Ins (choose one or combine)
- 1/2 cup chocolate chips or chopped chocolate
- 1/2 cup crushed cookies or biscuit crumbs
- 1/2 cup fruit puree (strawberry, mango, or raspberry)
- 2 tablespoons cocoa powder for chocolate version
Step-by-Step Instructions
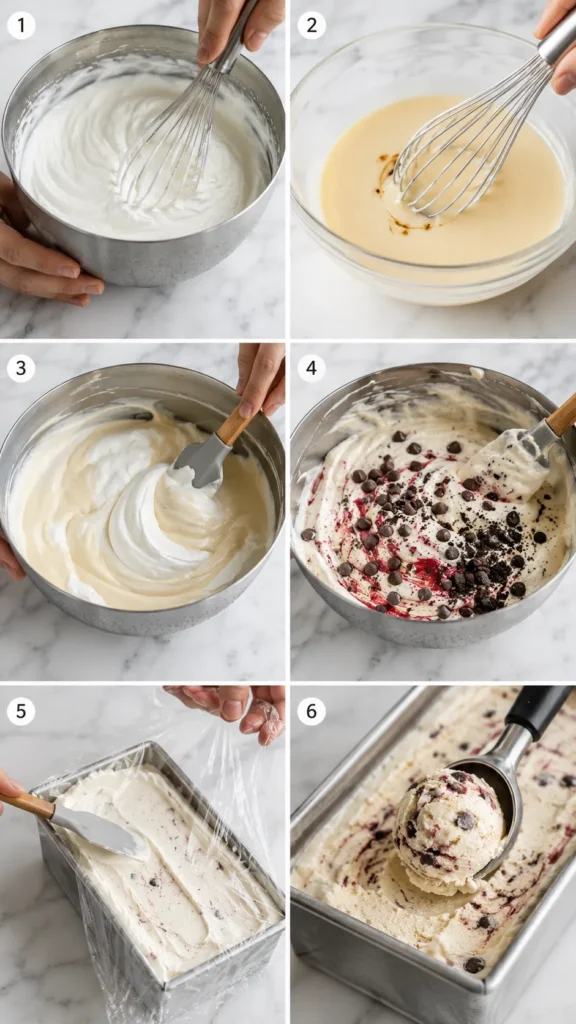
Step 1: Whip the Cream to Soft Peaks
Start by pouring cold heavy whipping cream into a large chilled bowl and whisking it for 3–5 minutes until soft peaks form. This step builds the airy structure that gives your ice cream its light texture.
Chef’s Tip: Keep both the bowl and whisk cold because chilled equipment helps the cream whip faster and hold more stable volume, preventing it from collapsing later.
Step 2: Prepare the Sweet Base
In a separate bowl, combine sweetened condensed milk, vanilla extract, and salt, stirring until fully smooth and glossy. This mixture forms the flavor backbone of your ice cream.
Chef’s Tip: Make sure the condensed milk is fully incorporated because uneven mixing can create sweet pockets instead of a balanced flavor throughout the dessert.
Step 3: Fold the Mixtures Together
Gently fold the whipped cream into the condensed milk mixture using a spatula. Take your time and use slow folding motions to preserve the airiness.
Chef’s Tip: Avoid vigorous stirring because it will deflate the whipped cream and result in a dense, icy texture instead of a soft, creamy finish.
Step 4: Add Your Flavor or Mix-Ins
Once combined, add your chosen mix-ins such as chocolate chips, fruit puree, or crushed cookies. Fold lightly until evenly distributed.
Chef’s Tip: If using fruit puree, swirl it in instead of fully mixing to create beautiful ribbons of flavor and a more visually appealing finish.
Step 5: Transfer to Freezer Container
Pour the mixture into a loaf pan or airtight freezer-safe container and smooth the top with a spatula. Cover tightly with plastic wrap or a lid.
Chef’s Tip: Pressing plastic wrap directly onto the surface prevents ice crystals from forming and keeps the texture creamy instead of grainy.
Step 6: Freeze Until Firm
Freeze for at least 6–8 hours or overnight until fully set. Before serving, let it sit at room temperature for 5 minutes for easier scooping.
Chef’s Tip: Allowing a short resting time before serving softens the texture slightly, making scooping smoother and enhancing the creamy mouthfeel.
Nutritional Information (Per Serving)
| Nutrient | Amount |
| Calories | 310 kcal |
| Protein | 4 g |
| Carbohydrates | 28 g |
| Total Fat | 21 g |
| Saturated Fat | 13 g |
| Sugar | 25 g |
| Fiber | 0–1 g |
Why You’ll Love This Recipe
- You don’t need an ice cream machine, which makes this recipe accessible even if you’re a beginner with minimal kitchen tools.
- The texture is incredibly creamy because whipped cream naturally creates a soft, airy structure when frozen properly.
- You can customize it endlessly with flavors, swirls, and mix-ins, making every batch feel completely unique.
- It’s a make-ahead dessert that stays ready in the freezer for whenever you need a quick sweet treat.
- It delivers bakery-style results at home without complicated techniques or expensive ingredients.
Common Mistakes to Avoid
- Overwhipping the cream can lead to a grainy texture because the fat starts separating, so stop as soon as soft peaks form.
- Skipping the folding technique can deflate the mixture, resulting in dense ice cream instead of a light and creamy finish.
- Using warm ingredients reduces volume and affects freezing consistency, so always keep everything chilled before starting.
- Not covering the surface properly allows ice crystals to form, which ruins the smooth texture of the ice cream.
Serving Suggestions
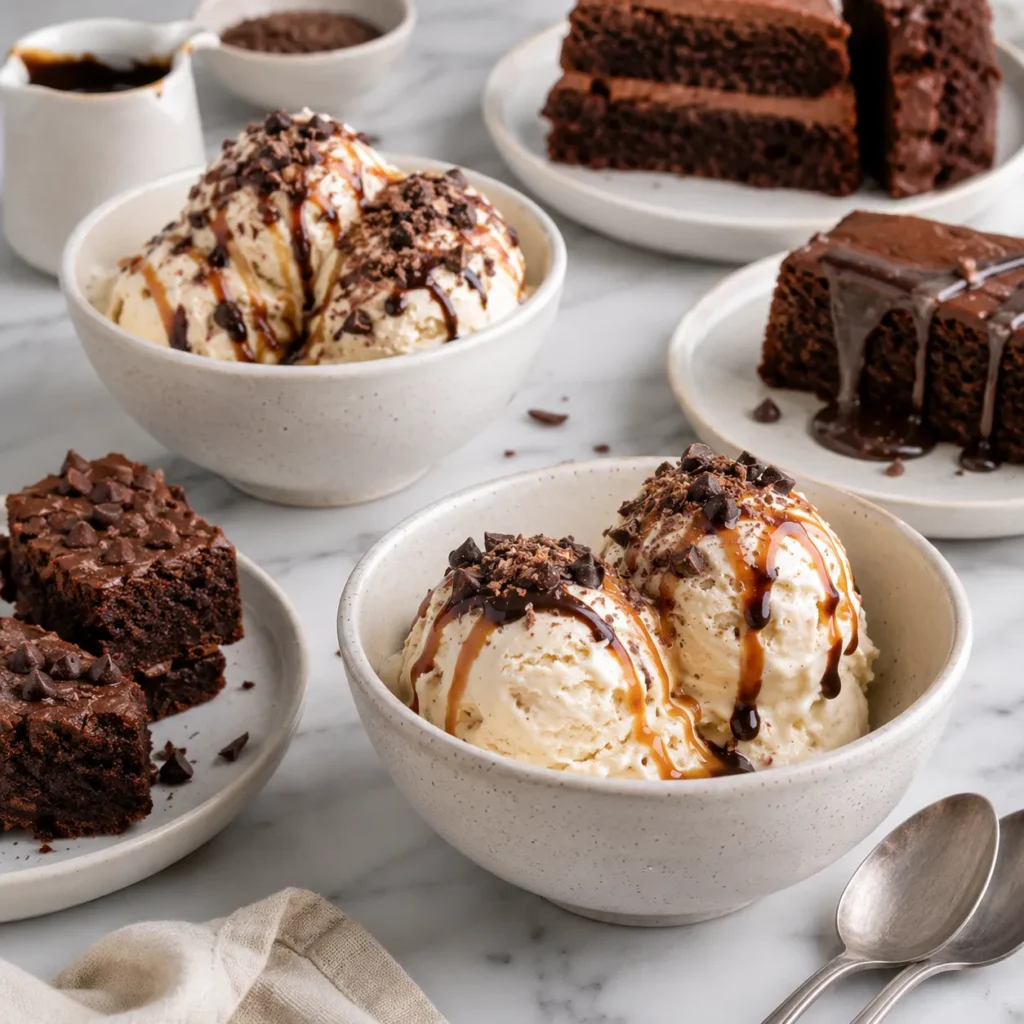
- Serve scoops in chilled bowls with chocolate sauce or caramel drizzle to elevate the dessert into a café-style treat.
- Pair it with warm brownies or cake slices to create a hot-and-cold contrast that enhances both textures.
- Use it as a filling for ice cream sandwiches by placing it between soft cookies for a fun homemade dessert.
- Serve alongside fresh fruit like berries or mango slices for a refreshing and lighter presentation.
Healthier Alternatives and Ingredient Swaps
- Replace heavy cream with coconut cream to create a dairy-free version that still maintains a creamy texture.
- Use low-sugar condensed milk alternatives to reduce sweetness while keeping structure intact.
- Add mashed bananas or frozen berries instead of sugar-heavy mix-ins for a more natural flavor profile.
- Swap chocolate chips with chopped nuts for added protein and a more nutrient-dense dessert option.
Storage and Meal Prep Tips
- Store the ice cream in an airtight container to prevent freezer burn and preserve its creamy consistency.
- Keep it in the coldest part of your freezer to ensure even freezing and avoid partial melting and refreezing.
- It stays fresh for up to 2 weeks, although texture is best within the first 5–7 days.
- Let it sit at room temperature for a few minutes before scooping to soften naturally without melting too quickly.
Conclusion
This easy no churn ice cream recipe proves that you don’t need special equipment to create a rich, creamy frozen dessert at home. With simple ingredients and the right technique, you can enjoy a customizable treat that’s smooth, flavorful, and always satisfying.